By now, we've all seen the posts and tweets from the IT blogosphere, heralding the arrival of Docker for Windows. Now, to be clear: the ecosystem of Docker tools for Windows is nothing new. Tools such as Boot2Docker, Kitematic, and the Docker Client for Windows have been around for a while, and their collective functionality for Windows has recently been rolled up into Docker Toolbox. While these tools don’t really provide the full, native Docker experience on Windows, they do provide:
- a gateway drug Docker experience for Windows/Mac users, inside a Linux VM.
- the ability to manage a Linux Docker host from a Windows/Mac workstations.
- a means by which software developers, operations engineers, QA, and other IT staff can work with Docker containers idempotently using Windows/Mac workstations.
Until very recently, it was not possible to use a Windows Server platform to host the Docker Engine without adding an additional layer of virtualization. That all changed with the recent release of Windows Server 2016 TP3, which provides a bona-fide Docker daemon running natively on an actual Windows Server host. To many, this is the long awaited missing piece that clears the path to using Docker containers, tools, and workflows in production Windows environments.
Docker Engine for Windows Server requires Windows Server 2016, which is currently only in the Technical Preview 3 release stage. Like most bleeding-edge projects, Docker Engine for Windows Server is still very much in the skunkworks phase. The current set of official documentation is sparse, fragmented, and a bit elusive. In this walkthrough, we will outline the end-to-end steps required to quickly get up and running Docker Engine for Windows Server, from host OS install through your first docker run command.
Go ahead and skip to the Walkthrough: section below, but circle back here during progress bar breaks to read these key points about Docker Engine for Windows Server, gleaned from the Windows Server team at DockerCon:
-
There will be no cross platform containerization. Since Docker/libcontainer/LXC/etc are not hypervisors, and containers are not VMs, there is currently no way to present the appropriate kernel to a container from another platform. Windows containers will require a Windows Docker host, and Linux containers will require a Linux Docker host. The Windows Server Containers reuse the host kernel and create a sandboxed environment for the process, exactly like it does on Linux. Unless there is an unlikely fundamental change in one or both platforms (e.g. adopting a common kernel), cross platform containerization will simply never be a thing.

There will be two types of containers on Windows. “Windows Containers” work just like Docker containers. “Hyper-V Containers” are something different...
There will be two ways to manage containers in Windows. Windows Containers can be created and managed through either Docker or Powershell. Containers created with PowerShell cannot currently be managed with Docker and visa versa.
Windows Nano Server. Nano Server is stripped-down version of Windows Server 2016, optimized for running containers. In the Linux Docker world, think CoreOS, RHEL Atomic Host and Ubuntu Snappy. Apparently the Windows Server Technical Preview 2 .iso contained a Nano Server folder in the image, as well a deployment guide. I did not check the TP3 .iso, mostly because the current process to provision a Nano instance looks like a blunderous and buggy PITA. I remain interested in duplicating the process outlined here on Windows Nano Server, perhaps another day...
Walkthrough: Getting Started with Docker Engine for Windows Server
Install Windows Server 2016 TP3 (Core)
-
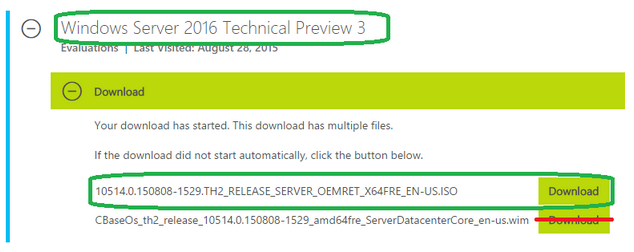
Download the .iso for Windows Server 2016 TP3. This requires registration for a TechNet account as well as additional registration for the evaluation download. Only the .iso is required, you do not need to download the .wim file.
-
Before installing, note the following install options:
Bare metal: create bootable DVD/USB and complete a bare metal install.
VM: create a 64-bit virtual machine in VirtualBox/HyperV/vmWare/etc. For this walkthrough, we will be using vmWare ESXi.
Cloud instance: At this time, AWS EC2 does not offer an AMI for Windows Server 2016 TP3 with Windows Server Containers, however (of course) Azure does. YMMV on other cloud platforms.
According to Microsoft, the full (GUI) installation of Windows Server does not support containers at this point in time, and they recommend only installing Windows Server Core. However, I have tested this install on both Full /Core, and Docker seemed to work as expected in both versions. For this walkthrough, we will use Windows Server Core.
Using the .iso downloaded in step 1 above, proceed to install Windows Server 2016 TP3, click “Install now” when prompted.
-
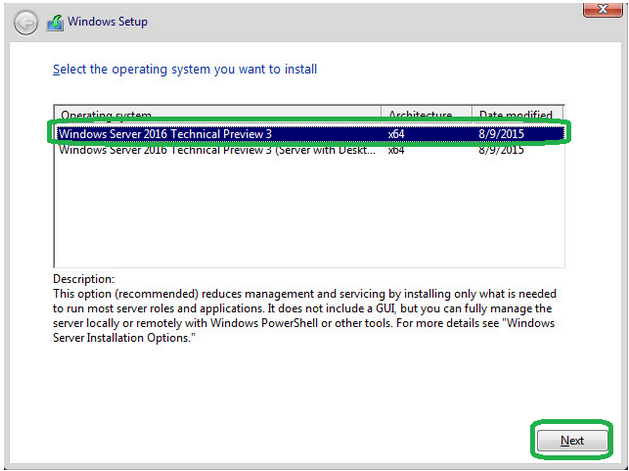
To install Windows Server Core, choose “Windows Server 2016 Technical Preview 3”, not “Windows Server 2016 Technical Preview 3 (Server with Desktop Experience)”, click "Next".
Accept the license agreement, click Next.
Choose “Custom”
-
Configure your partitions, accept any dialogues about Windows Partitions, choose the largest partition created, and click “install”.
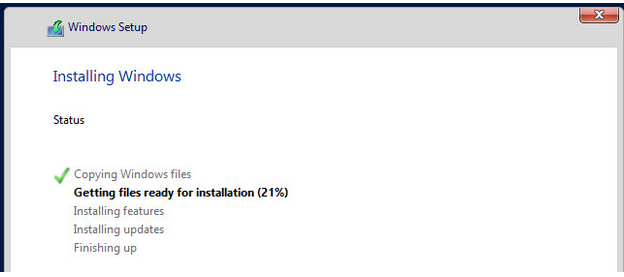
When the install is complete, the system will reboot.
-
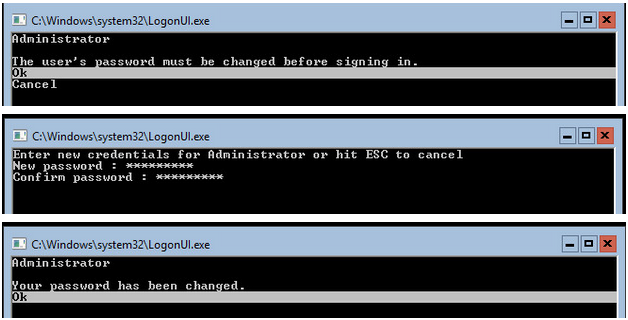
After reboot, you will be prompted to change the Administrator password. Ensure “Ok” is selected, press Enter, provide and confirm a password, press Enter twice.
-
Windows will briefly set up the system for first use, and you will be presented with a command prompt. Installation of Windows Server 2016 TP3 (Core) is complete.
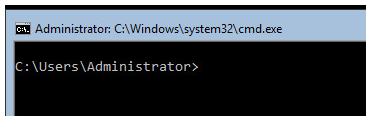
Setup Windows Server host for Containers
- At the command prompt, do
powershell.exe -
Ensure console window looks like this:
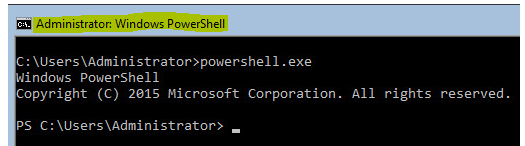
If it does not (still in the powershell window) do:
start-process powershell -Verb runas-
Do
wget -uri http://aka.ms/setupcontainers -OutFile C:\ContainerSetup.ps1
-
Do
C:\ContainerSetup.ps1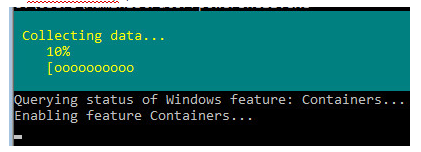
-
OS will reboot, install some features, and prompt to unlock with credentials.
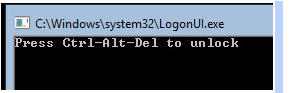
-
Provide the credentials created earlier. As soon as you login, a PowerShell session will spawn and the setup will continue.

-
During the setup process, a very large .wim file will be downloaded. This takes a long time (~45 minutes for me), and does not provide any console feedback to indicate the progress. Don’t worry, your box is not locked up.
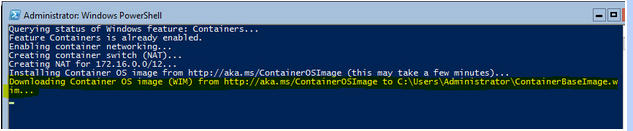
-
At the end of the download, the setup process will resume.

-
The setup will indicate
Installing Docker…followed byScript complete!, and present you with a prompt in the PowerShell console.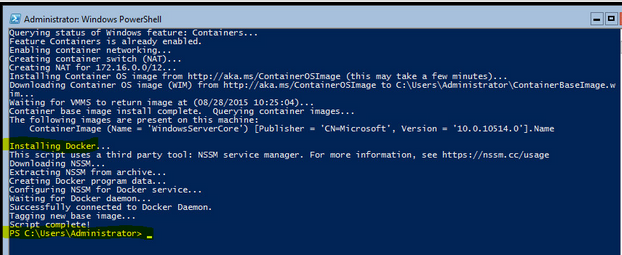
Do Docker stuff
-
Do
docker versionto confirm both the client and server components were installed successfully.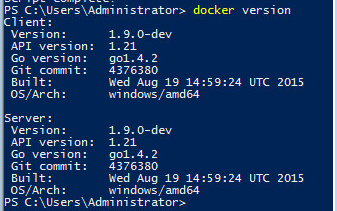
-
The Technical Preview of Docker for Windows Server isn’t feature complete yet (and taking into account that the feature sets will never be exactly identical given the differences of the underlying platforms), most of the Docker commands you already know will work as expected on Windows Server. Here’s what it thinks it can do, anyway, I’ve tested a great deal of this without any issues:

-
Let’s kick the tires.
docker imagesThis lists the two default Windows docker images available on the machine:

docker run -it --name dockerdemo windowsservercore cmdNow you are in a Windows Server Core container (specified by windowsservercore), the container is named dockerdemo, and you are using an interactive terminal (specfied by -it and cmd), all running on a real Windows Server Core Docker host!

Where to go from here?
- Manage Windows Server Containers with Docker
- Manage Windows Server Containers with PowerShell
- Docker official documentation
- Docker Training
- @botchagalupe’s kick-ass, 13 part Docker tutorial video series
-
...and, a bunch of Windows Server 2016 TP3 stuff:
TechNet Library: What's New in Windows Server 2016 Technical Preview 3